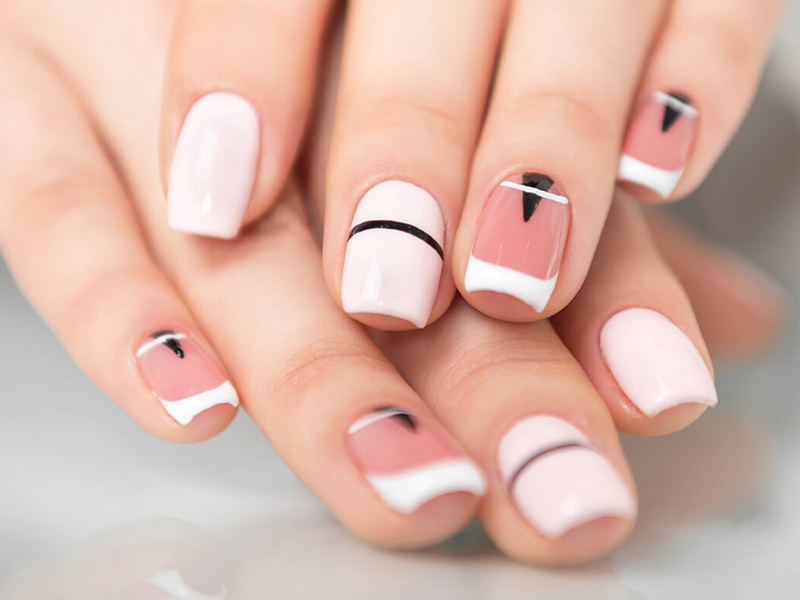
If you love acrylic nails, then you love them! They’re durable, strong, give your nails a gorgeous look and not-too-easy-to-chip-off either. While all this is great, it makes it quite tricky (read DIFFICULT) to get off!
Although it isn’t recommended to remove acrylic nails at home, sometimes things get busy and you may not be able to book an appointment with your nail tech. That’s probably why you’re asking “how to remove acrylic nails at home”, isn’t it?
In this guide, our professionals give you a step-by-step guide on how to remove acrylic nails at home without ruining your actual ones!
Things You Need for at Home Acrylic Nails Removal
- Nail trimmers
- Normal nail filer
- Grit Nail filer
- 100% acetone polish remover
- Cotton balls
- Aluminium foil
- Nail buffer
- Cuticle oil
- Hand cream
And loads of patience!
Step by Step Guide on How to Remove Acrylic Nails at Home
Step 1: Cut Those Extra Nail Extensions
Using your nail trimmer, clip those nail extensions to get rid of the excess acrylic. It’s important to get rid of excess nail extensions so there’s less to remove from your nails.
Step 2: Grit File the Top Layer
Begin to gently file away the top layer of your nails using a grit filer. A grit filer has a coarse surface, which removes the hardened acrylic layer from your nails. It’s important to use gentle, perpendicular strokes to nip away the polish. It’s recommended to file until the polish has no shine left.
Step 3: Fine File the Residue
Once most of the acrylic layer is gone, fine file the rest of your nails. Using a fine or regular filer for your actual nails is great because it’s gentle on the nail surface and doesn’t harm your real nails.
Step 4: Dunk Your Nails in Acetone
Your nails are now ready for the acetone dip. It is recommended to use 100% pure acetone for the best results.
- Start by drenching cotton balls in acetone
- Place them on each nail
- Wrap a thin layer of aluminium foil on each nail
- Leave on for at least half an hour
Let the acrylic dissolve!
Step 5: Buff Away
Now that your acrylics have dissolved, check for any leftover bits and pieces. If you can, use a cuticle pusher to get the chunks away. If they’re a bit stubborn, then try to softly buff away the harder bits. You can also dip your nails in acetone for an extra 10-15 minutes and try buffing again!
Note: Remember, your nails won’t be the nicest at this point but keep going and stay patient!
Step 6: Hydrate Your Nails
With filing, acetone-ing and buffing, your nails ought to be dried up! It is important to hydrate your nails to restore their moisture and bring back their shine and softness to your hands. For this, it is recommended to:
- Cover your nails in cuticle oil
- Massage your hands with nail and hand cream
- Use a hydrating mask on your nails
You should also regularly moisturise your hands to make sure your skin is well hydrated at all times!
Recap
In this guide, our experts gave you tips on the fastest way of removing acrylic nails yourself. If you’re wondering about how to remove acrylic nails at home without ruining your real ones, then simply file your nails, chip extensions, soak your nails in pure acetone for 30-45 minutes (covered in foil) and then buff away.
Our Advice
As experts, we do not condone removing acrylics at home. This is because no matter how careful you are, you don’t have professional training. In addition, you probably don’t have the tools and machines that our nail techs use. Even if you do, you won’t know how to use them properly!
If you want to remove your acrylic nails or even get a new set for the holiday season, come to us at Ti Kathy’s! Our experts have 20+ years of nail care experience. We’ll get those fakies out without ANY damage to your real ones. And you just might want one of our best-selling holiday acrylic nail sets too?
To get a consultation, visit our website here. Or you can click here to book your appointment. We’ll be happy to have you!

